
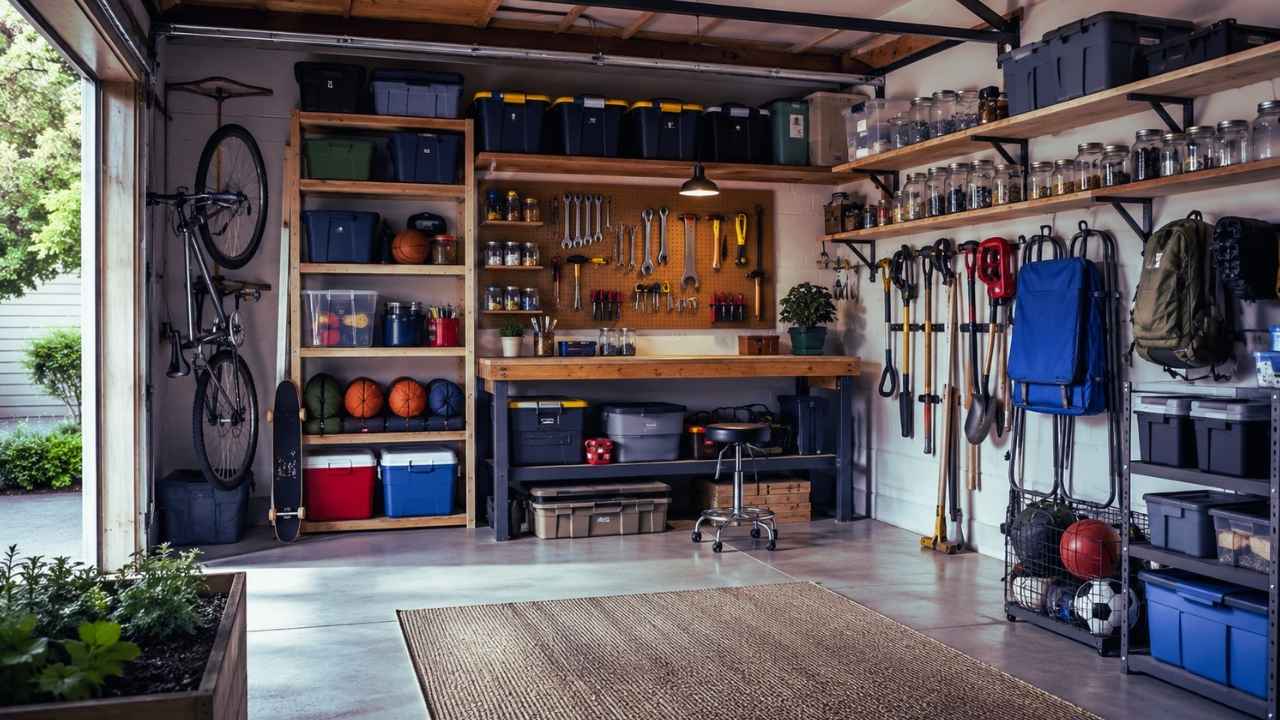
I know the exact feeling. You hit the garage door opener, and a literal wall of junk stares right back at you. Bikes tangled with fifty-foot hoses. Faded holiday bins stacked precariously on dried-up paint cans. It feels like a massive weekend chore you’ll never actually finish.
You don’t have to drop thousands on custom steel cabinets or fancy floors to win your space back. If you want to organize garage on a budget this year, you just need a solid attack plan, a little sweat, and a few clever hacks.
In 2026, the biggest trend isn’t just buying fifty matching plastic bins and hiding your mess. It’s about building a functional, breathable layout where everything actually belongs. We are finally done treating the garage like a residential dumping ground. I’m going to walk you through exactly how to flip your space step-by-step, backed by current market trends, without draining your bank account.
The 2026 Shift: Why We Need Space Now
Let’s be real about what’s happening right now. We use our homes completely differently than we did five years ago. According to 2026 data from Grand View Research, the global garage storage market is exploding—projected to hit an insane $30.2 billion this year. Why? Because our homes feel smaller, and we desperately need that extra square footage.
People want multi-purpose zones. We want a dedicated spot to work out, a mini woodshop, or just a reliable place to park the car without tripping over a rake. The problem? Professional makeovers cost a fortune thanks to wild material and labor costs.
When you choose to organize garage on a budget, you force yourself to get creative. Instead of throwing money at a messy problem, you fix the root cause: keeping stuff you simply don’t use.
Read Also: Best Smart Garage Door Openers in 2026
|
High-End 2026 Trend |
Budget-Friendly DIY Alternative |
Money Saved |
|
Custom Modular Cabinets |
Repurposed interior furniture and old dressers |
$1,500 – $3,000 |
|
Premium Slatwall Panels |
Standard pegboards with heavy-duty metal hooks |
$300 – $600 |
|
Professional Epoxy Floors |
Concrete porch paint and masonry sealant |
$800 – $1,200 |
|
Heavy-Duty Metal Racks |
DIY 2×4 framing and thick OSB shelving |
$200 – $500 |
Embrace the Multi-Purpose Mindset
You don’t need an expensive designer to tell you that keeping a greasy weed whacker next to your golf clubs is a terrible idea. Creating distinct, separate zones helps you find what you need in seconds. We are moving toward a minimalist approach where floor space is strictly protected.
Step 1: The Brutal Purge and Deep Clean
You can’t organize clutter. It’s impossible. If you genuinely want to tackle this mess, your very first weekend must be entirely devoted to getting rid of things. Drag every single item out onto the driveway. Yes, everything. Seeing an empty room is the only way to know what square footage you actually have to work with.
|
Sorting Category |
What Goes Here |
Your Immediate Action |
|
Keep (Everyday Use) |
Hand tools, sports gear, car wash soap |
Clean and assign to a clear zone |
|
Keep (Seasonal) |
Holiday lights, camping tents, snow tires |
Move to overhead racks or high shelves |
|
Sell / Donate |
Outgrown bikes, old power tools, toys |
List on local marketplaces or drop off |
|
Trash / Recycle |
Broken chairs, rusty nails, shattered glass |
Haul to the local dump today |
What Absolutely Must Go (Safety First)?
Stop storing dangerous stuff out there. The home safety experts at Family Handyman and SpareFoot are clear about this. Get these items out of your garage today:
- Propane Tanks: Never store these inside. A small leak near a starting car triggers an explosion. Keep them outdoors in the shade.
- Leftover Paint: Extreme temps cause latex paint to freeze and separate, ruining it entirely. Plus, metal cans rust fast on bare cement.
- Documents & Photos: Humidity warps paper and breeds mold. Move these keepsakes inside the house.
- Pet Food: Dog food sitting in a hot room acts like a dinner bell for mice and raccoons.
Ask yourself a hard question: have I used this in the last two years? If no, let it go. Sell the good stuff to fund your new DIY shelving materials.
Step 2: Exploit Vertical Space
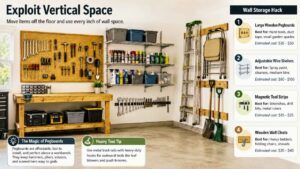
Floor space is pure gold. The second you leave something sitting on the floor, the mess starts growing again. The secret to a perfect layout is moving everything onto the walls. Look up. Exploit every single inch of vertical storage.
|
Wall Storage Hack |
Best Used For |
Estimated Cost |
|
Large Wooden Pegboards |
Hand tools, duct tape, small garden spades |
$30 – $50 |
|
Adjustable Wire Shelves |
Spray paint, cleaners, medium bins |
$60 – $100 |
|
Magnetic Tool Strips |
Wrenches, drill bits, metal rulers |
$15 – $25 |
|
Wooden Wall Cleats |
Heavy ladders, folding chairs, shovels |
$20 – $40 |
The Magic of Pegboards
I can’t stress this enough: pegboards are incredible. They cost almost nothing, take ten minutes to hang, and hold everything. Buy a large sheet at the hardware store, screw it directly over your workbench, and add metal hooks. Boom. Your hammers, pliers, and scissors are perfectly aligned and easy to grab. You’ll never waste ten minutes digging for a Phillips head screwdriver again.
Want something beefier for heavy yard tools? Skip the expensive branded slat walls and buy simple metal track rails. Screw the steel rail right into your wall studs, then snap on heavy-duty hooks. It’s the cheapest, most secure way to hang awkward items like leaf blowers and heavy push brooms.
Step 3: Upcycle Your Old Furniture
The smartest, most resourceful way to successfully organize garage on a budget? Shop your own house. You probably have old furniture gathering dust in the basement or attic right now. Before you haul it to the curb, see if it solves a storage problem out back.
|
Household Furniture |
Garage Repurposing Idea |
Customization Tip |
|
Old Wooden Dresser |
Hold tape, sandpaper, rags, and loose tools |
Rip off the legs and add heavy caster wheels |
|
Tall Bookshelf |
Create a shoe rack or motor oil shelf |
Paint with an exterior-grade moisture sealant |
|
Metal Filing Cabinet |
Store power tools, batteries, and cords |
Label the front of the drawers clearly |
|
Used Kitchen Cabinets |
Lock away harsh chemicals and sharp tools |
Mount securely directly to the wall studs |
Rolling Tool Chests for Free
An old, beat-up wooden dresser is a goldmine. The sliding drawers are perfect for sorting the tiny, loose items that clutter up a workbench. Dedicate one drawer just to paint rollers and brushes. Use another for sanding blocks and wood glue. If the dresser looks terrible, give it a rough sand and slap on a coat of durable exterior paint. Add casters to the bottom, and you have a custom, rolling tool chest for free.
Don’t toss your scrap wood, either. A short piece of leftover PVC pipe screwed vertically to the wall makes a brilliant fishing rod holder. Scrap 2x4s nail together fast to create a sturdy custom workbench for tight corners.
Step 4: Master the Ceiling Space Safely
Out of wall space? Look up. The ceiling is basically free real estate that most people completely ignore. If you aren’t using the dead space right above your automatic doors, you are missing out on a massive storage opportunity.
|
Ceiling Storage Idea |
Best Items to Store |
Key Safety Rule |
|
Plywood Overhead Racks |
Holiday bins, large artificial trees |
Bolt securely directly into the ceiling joists |
|
Sliding Tote Tracks |
Light seasonal clothes, sleeping bags |
Never exceed the stated weight limits |
|
Heavy-Duty Coated Hooks |
Mountain bikes, kayaks, long ladders |
Ensure total clearance above parked cars |
|
Pulley Systems |
Heavy storage boxes, small boats |
Test the locking mechanisms regularly |
Finding the Ceiling Joists
Nobody needs to trip over a plastic decorative snowman in July. Overhead racks are absolutely perfect for bulky items you only need once a year. Buy premade metal racks, or build your own custom rig using cheap 2x4s and thick plywood. Just map out the clearance carefully so your door doesn’t smash your new shelf when it rolls up.
But hear me on this: do not cut corners here. Gravity always wins. When installing anything on the ceiling, you must accurately locate the wooden joists. Never trust flimsy drywall anchors to hold heavy bins suspended above your car. Buy a cheap stud finder, drill proper pilot holes, and use heavy-duty lag screws. Keep your car—and your head—completely safe.
Step 5: Map Your Zones for Better Flow
The best setups are broken down into highly specific zones. Think of it exactly like a grocery store layout. You don’t find the milk randomly mixed in with the cereal. Your layout should work the exact same way. Grab some painter’s tape and map out exactly where things will live on the floor before you start putting them away.
|
Zone Name |
Best Location |
Items to Store |
|
Automotive & Car Care |
Right near the main garage door |
Wash buckets, motor oil, sponges, inflators |
|
Workshop / DIY |
Back corner with the best lighting |
Workbench, hand tools, bulky power tools |
|
Sports & Family Play |
Near the interior door to the house |
Basketballs, bats, helmets, skateboards |
|
Garden & Yard |
Side wall near the exterior driveway |
Shovels, rakes, potting soil, hoses |
The Family Drop Zone
Got kids? You know sports gear multiplies overnight. Build a dedicated drop zone right next to the door leading into the house. Hang tall mesh laundry bags to hold basketballs and soccer balls. Install angled wire shelves for muddy cleats so they can dry out. Add a row of sturdy coat hooks low enough for kids to easily hang their own backpacks and bike helmets. Make it easy to put away, and they actually might do it.
Step 6: DIY Shelving vs. Plastic Fixes
Heavy-duty metal racks are awesome, but they eat your budget fast. If you need robust vertical storage for heavy bins, building your own shelves out of construction lumber is the most cost-effective route—provided you own a circular saw and a drill.
|
Shelving Type |
Pros |
Cons |
|
DIY 2×4 and Plywood |
Extremely strong, custom size, very cheap |
Requires basic carpentry skills |
|
Plastic Resin Shelving |
Won’t rust, easy to build, lightweight |
Can warp under heavy weight over time |
|
Pre-Fab Metal Racks |
Very durable, high capacity, looks clean |
Expensive upfront, fixed dimensions |
Grab a few 2x4s and some OSB (oriented strand board), and you can build a massive, wall-to-wall shelving unit for under a hundred bucks. It won’t look like a fancy professional showroom, but it will easily hold hundreds of pounds of camping gear safely.
Hate building things? Pick up cheap plastic resin shelves from a big-box store. They snap together in five minutes. Just remember that plastic warps in extreme heat. Keep the heavy stuff—like concrete bags or potting soil—strictly on the bottom shelf to anchor the unit and stop it from bending.
Step 7: Cheap and Durable Flooring Fixes
You can build the most beautiful shelves in the world, but if your floor is covered in old oil stains and thick dirt, the room still feels messy. Professional epoxy coatings look incredible, but they cost an absolute fortune.
|
Flooring Solution |
Cost Range |
Durability & Upkeep |
|
Interlocking Rubber Mats |
$100 – $250 |
Great for home gyms; traps dirt underneath |
|
Concrete Floor Paint |
$50 – $100 |
Brightens space instantly; recoat every few years |
|
Heavy-Duty Garage Rugs |
$40 – $80 |
Perfect for specific zones; catches snow drips |
The absolute cheapest way to upgrade your floor is heavy-duty concrete porch paint. Power wash and scrub the floor thoroughly with a heavy degreaser first (paint peels right off old grease). Once the cement is bone dry, roll on two coats of paint. It cleans up beautifully with a standard push broom and instantly makes the whole room feel bigger and brighter.
Final Thoughts
Taking back your home’s footprint doesn’t have to be a stressful, wildly expensive nightmare. You just have to completely change how you look at the physical space. Stop treating it like a glorified storage locker and start treating it like an actual room. Purge the junk ruthlessly, look to the walls to maximize vertical storage, and repurpose the furniture you already own.
By taking it one weekend at a time, you can absolutely organize garage on a budget and create a clean, highly functional area you actually enjoy walking into. Keep things remarkably simple, label everything clearly, and always remember that an organized home ultimately gives you more free time to actually enjoy your life.
Frequently Asked Questions (FAQs) About Organize Garage on a Budget
How do I handle heavy moisture and humidity?
If you live in a damp or coastal climate, moisture is your worst enemy. Keep absolutely everything at least one inch off the bare concrete floor. Concrete naturally holds moisture and will quickly rust metal cabinets and rot wooden furniture legs. Buy cheap plastic leveling feet for your shelving units, and run a small, efficient dehumidifier during the muggy summer months to protect your expensive tools.
Do I need a permit to build garage cabinets?
For freestanding units and basic wall shelves, no. However, if you are tapping into your electrical panel to add new outlets for a workstation, or doing heavy structural modifications to the ceiling joists for overhead storage, check your local municipal codes. Keep it simple and stick to freestanding or surface-mounted organization to avoid red tape..